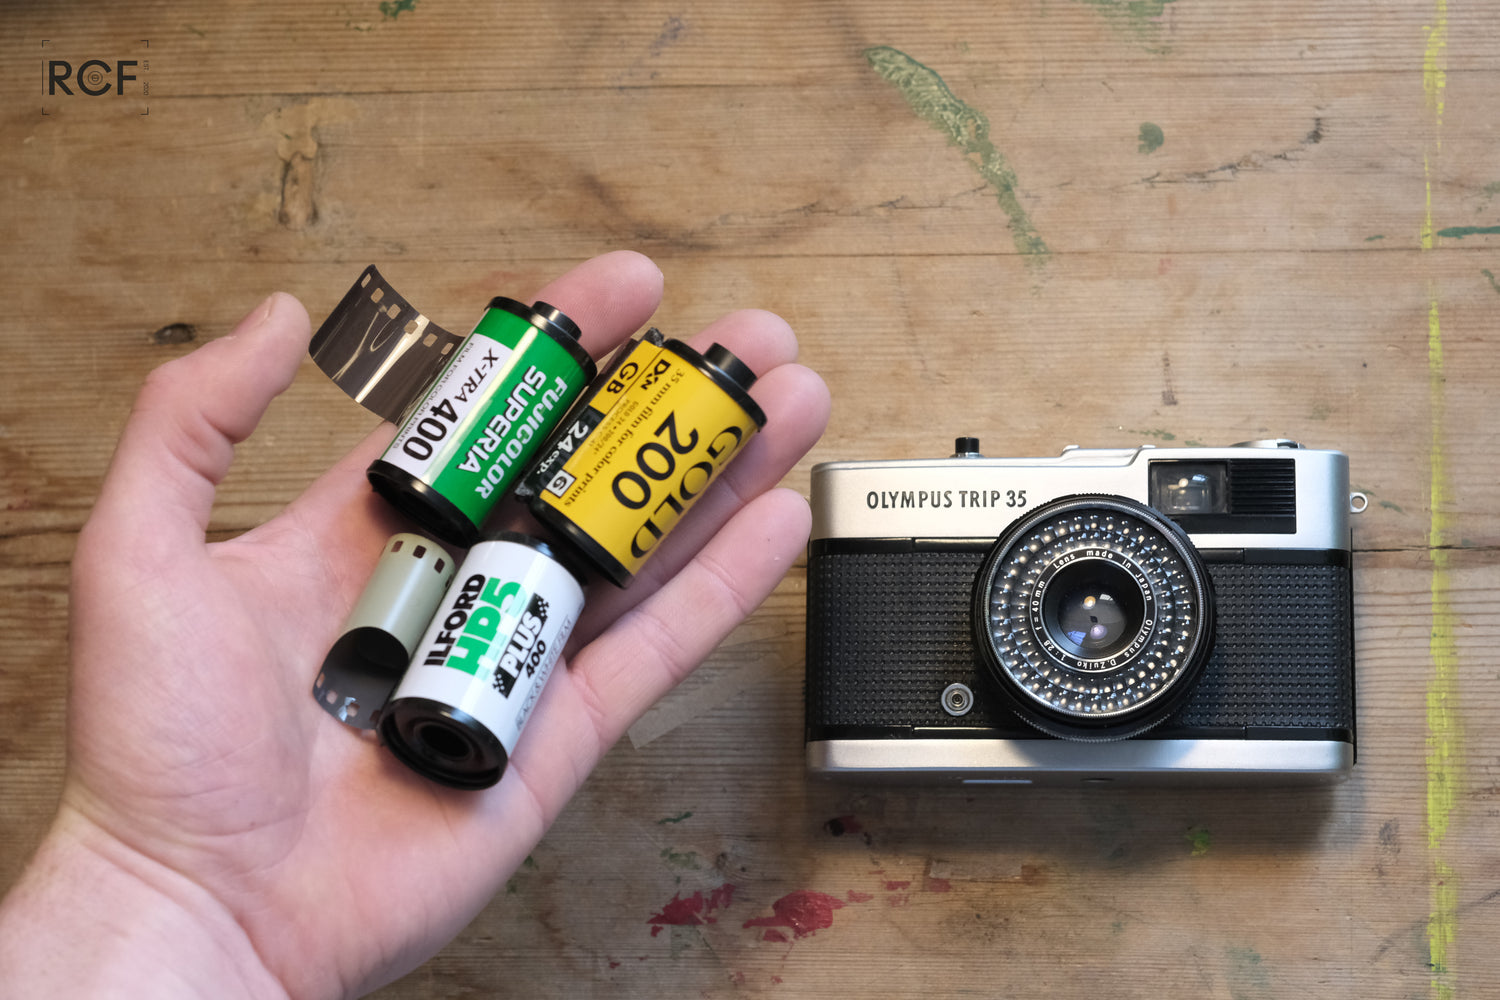
If you're the proud new owner of a vintage Olympus Trip 35 film camera, you're in for a treat! This classic piece of photographic history is perfect for capturing memories with a unique analog touch with ease. In this guide, I'll walk you through the step-by-step process of using your Olympus Trip 35, complete with images and important precautions to ensure you get it right every time.
Loading Film into Your Olympus Trip 35:
Step 1: Choose your film
Select your preferred 35mm film roll, keeping in mind that the Olympus Trip 35 is compatible with ASA/ISO speeds ranging from 25 to 400.

Popular film brands include Kodak, Fujifilm, and Ilford. This post I wrote might be useful: Buying 35mm Film - A Complete Guide
Step 2: Set the film speed
![[Image 8: ASA/ISO dial on the camera]](https://cdn.shopify.com/s/files/1/0571/3212/2301/files/DSCF2804_240x240.jpg?v=1684491117)
Set the appropriate ASA/ISO speed for your film using the dial located on the front of the camera, near the lens.
Step 3: Open the camera back
![[Image 2: The Olympus Trip 35's back lock tab]](https://cdn.shopify.com/s/files/1/0571/3212/2301/files/DSCF2797_240x240.jpg?v=1684491064)
Locate the camera back lock tab on the bottom of your Olympus Trip 35. Pull it down and the camera back should pop open.
Step 4: Insert the film cartridge
![[Image 3: Film cartridge being inserted into the camera]](https://cdn.shopify.com/s/files/1/0571/3212/2301/files/DSCF2798_240x240.jpg?v=1684491072)
Lift up the rewind knob and insert the film cartridge into the film chamber on the left side of the camera, making sure the tip of the film is pointing toward the take-up spool on the right side.
Step 5: Engage the film leader
![[Image 4: Film leader inserted into the take-up spool]](https://cdn.shopify.com/s/files/1/0571/3212/2301/files/DSCF2800_240x240.jpg?v=1684491080)
Pull the film across the camera and insert the tip securely into the slot on the take-up spool. Rotate the spool manually to ensure the film is securely engaged.
Step 6: Align the film perforations
Ensure that the film perforations are aligned with the sprocket teeth on both the top and bottom of the camera.
![[Image 4: Film leader inserted into the take-up spool]](https://cdn.shopify.com/s/files/1/0571/3212/2301/files/DSCF2801_240x240.jpg?v=1684491091)
This ensures the film will advance smoothly when winding.
Step 7: Close the camera back
Close the camera back. The camera back should click shut, indicating it is securely closed.
![[Image 6: Closing the camera back]](https://cdn.shopify.com/s/files/1/0571/3212/2301/files/DSCF2803_240x240.jpg?v=1684491101)
❗️ IMPORTANT: Never open the camera back before fully rewinding the film, as this can expose your film to light and ruin your photos. Make sure to rewind the film completely after taking all 24 or 36 frames before unloading it.
Step 8: Wind the camera on and advance the film
Wind the camera on and fire the camera's shutter and then wind the camera on again.

This ensures the unexposed part of the film is ready for your first photo.
❕ Watch the rewind knob as you wind the camera on after 2-3 photos; it should start to rotate, indicating that the film has been taken up correctly - this is very important, if this is not happening after a few shots then it probably means that the film has not been securely engaged by the take-up spool and the loading process will need to be repeated.
Step 9: Get ready to shoot!

Your Olympus Trip 35 is now loaded with film and ready to capture amazing photos. Enjoy the unique experience of shooting with this vintage camera!
How to Take Photos with The Olympus Trip 35:
Step 1: Ensure the camera is wound on
This gets the shutter ready and primed to take a photo.
Step 2: Set subject zone focus distance on the lens
The Olympus Trip 35 has 4 settings which equate to focusing zone distances away from the camera (shown on the underside of the lens barrel):

- 🧍♀️Close focus ≈ 1 meter. This setting is used for focusing on anything ~1 meter away from the camera, be it close headshots or other close up details.
- 👥 Portrait ≈ 1.5 meters. Used for focusing on anything ~1.5 meters away from the camera, for example portraits or capturing wider details in the photo.
- 👯 Group ≈ 3 meters. Focusing on anything ~3 meters away from the camera, eg. full length body shots/group photos.
- 🌄 Scenery ≈ 5+ meters. Focusing on everything 5+ meters away from the camera, great for landscapes or subjects far away from the camera!

Step 3: Ensure aperture ring is set to 'A'
For 99% of situations in good light without a flash, it's best to leave the camera set to the red 'A'.

This lets the camera's solar powered meter set the exposure settings automatically and ensures a good exposure.
Step 4: Compose the photo using the viewfinder

Use the projected frame lines to see the area that will be captured in your photograph. There are hash marks to indicate the change in frame at close focus.
Step 5: Take photo by pressing shutter button

There should be a small click as the shutter fires - indicating a photo has been taken! 🙌 If instead a red flag appears in the viewfinder, this is a warning that there is not enough light in the scene for a proper exposure.

You can manually disable the red flag low light warning and take a photo anyway in low light by setting the aperture to '2.8'.
Unloading Film from Your Olympus Trip 35:
Step 1: Check the film counter
Once you've taken all the photos on your film roll (either 24 or 36 frames), check the film counter to ensure you've reached the end.
Towards the end of the roll it is important to not try to wind on the camera hard when you start feeling quite a lot of resistance - this signifies that the roll is finished and if pushed too hard can sometimes result in the film snapping in the back of the camera.
Step 2: Press rewind button in
Find the small black button on the base of the camera and push it in to disengage the film from the winding mechanism and allow the film to wind back into the film canister inside the camera.
Step 3: Rewind the film
Press the rewind button located on the bottom of your Olympus Trip 35. Then, turn the rewind knob clockwise to rewind the film back into the cartridge. Keep rewinding until you feel the tension release, indicating that the film has been fully rewound.
Step 4: Open the camera back
Following the same steps as when loading the film, locate the camera back lock tab on the bottom of your Olympus Trip 35. Pull it outwards to open the camera back.
Step 5: Remove the film cartridge
![[Image 13: Film cartridge being removed from the camera]](https://cdn.shopify.com/s/files/1/0571/3212/2301/files/DSCF2813_240x240.jpg?v=1684491173)
Pull up the rewind lever and lift the film cartridge out of the film chamber.
Step 6: Store and develop your film
![[Image 14: Film cartridge ready for storage or development]](https://cdn.shopify.com/s/files/1/0571/3212/2301/files/DSCF2814_240x240.jpg?v=1684491181)
Place the film cartridge in a light-tight container to protect it from light exposure. Take or send your film to a lab for development or develop it yourself using the appropriate chemicals and techniques.
With this complete guide, you're now well-equipped to take photos with the Olympus Trip 35. Remember to follow the precautions and steps closely to protect your precious memories! Enjoy the nostalgic experience of shooting with a classic film camera and creating beautiful photographs that stand the test of time.


![[Image 10: Film counter indicating the last frame]](https://cdn.shopify.com/s/files/1/0571/3212/2301/files/DSCF2809_240x240.jpg?v=1684491137)

![[Image 11: Rewinding the film with the rewind knob]](https://cdn.shopify.com/s/files/1/0571/3212/2301/files/DSCF2811_240x240.jpg?v=1684491163)

Leave a comment
This site is protected by hCaptcha and the hCaptcha Privacy Policy and Terms of Service apply.